Electroculture is an ingenious technique that utilizes mild electric currents in the earth to energize plant growth. Constructing a simple electroculture antenna enables you to harness these currents to reap bigger, better harvests from your backyard plot or commercial fields.
In this comprehensive DIY guide, you’ll uncover:
- The stimulating benefits of electroculture for your crops
- How to assemble an antenna to electrify your soil
- Step-by-step installation and usage instructions
- Expert tips for safety and optimal performance
- The scientific mechanism behind electroculture’s growth boosting powers
Ready to build a bounty boosting antenna and unleash your green thumb? Let’s get growing!
What is Electroculture and How Does it Cultivate Growth?
Electroculture is a method of energizing the soil to stimulate plant growth. It works by generating mild electric currents that travel through the soil and into plant root systems.
Applying these low voltage currents can provide the following benefits:
- Increased germination rates
- Faster plant growth
- Earlier flowering and fruiting times
- Improved crop yields
- Enhanced nutrient absorption
- Reduced irrigation needs
- Healthier plants with stronger immune systems
The exact mechanisms behind how electroculture enhances plant growth are still being researched. The leading theory is that the applied electric currents stimulate root cell growth and activity. This enhances the plant’s ability to take up water and nutrients from the soil.
Some studies have found that electroculture can increase yields by up to 500%! It’s an easy, chemical-free way to supercharge your garden.
To create the electric currents, you need an electroculture antenna. This consists of two galvanized nails or wires inserted into the soil. One acts as the cathode (-) and the other as the anode (+).
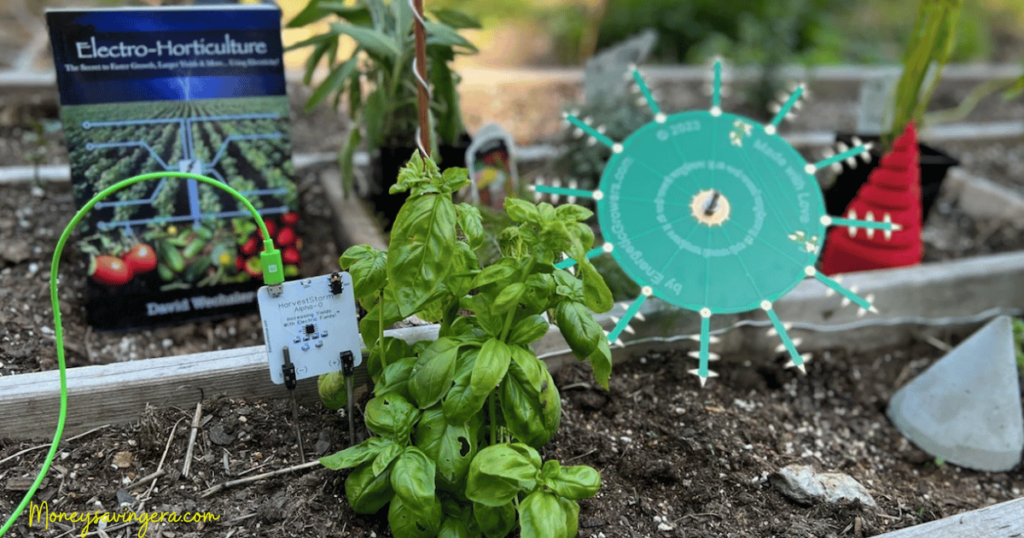
Connecting these to a power source like a 9-volt battery or DC voltage generator will create an electrical circuit in the soil between the electrodes. Make sure to use a low voltage so you don’t damage plant roots.
Now let’s get into how to build your own antenna!
Electroculture Antenna Materials and Tools
Constructing an electroculture antenna is simple and only requires a few materials and basic tools:
Materials Needed For Electroculture Antenna :
- 2 galvanized steel rods or wires (12 gauge)—these will act as your electrodes
- Insulated connecting wire
- 9-volt battery or DC power source (12 volts or less)
- Waterproof container (for battery)
- Alligator clips
Tools Needed For Electroculture Antenna:
- Wire stripper
- Lineman pliers
- Measuring tape
- Sledgehammer or post pounder
- Battery charger (if using rechargeable batteries)
The galvanized rods can be purchased at any hardware store and are often sold as grounding rods. Make sure they are long enough to be fully inserted into the soil. 12–24 inches is recommended, depending on soil depth.
The key is using galvanized or stainless steel, as these metals are more corrosion resistant. This allows the electric current to flow efficiently.
Copper may also work, but will corrode faster. Avoid using pennies or zinc/iron electrodes. Let’s now go step-by-step through constructing the antenna.
How to Make Your Own Electroculture Antenna
Step 1: Cut and Prepare the Electrodes
Cut your two galvanized steel rods to the desired length using a hacksaw or bolt cutters. Aim for around 12–24 inches. If using pre-cut wires instead of rods, ensure they are 12 gauge in thickness.
Strip 1⁄2 inches of insulation from the ends of the connecting wire using wire strippers. Attach an alligator clip to each stripped end.
Step 2: Measure and Mark Installation Points
Measuring out from your plant/garden row, hammer in a nail or stick at the points you wish to install the electrodes. The distance between electrodes can vary:
- For individual plants, aim for 1-3 feet apart.
- For rows/beds, install them at the ends of the row or bed, spaced 5–10 feet apart.
This spacing creates an even electrical current across the entire planting area. Mark the depth at which you hammered the nails so you know how deep to insert the electrodes.
Step 3: Install the Cathode and Anode
Now it’s time to install the electrodes. Use a post pounder or sledgehammer to insert one galvanized rod approximately 6 inches from each marker nail, at the same depth.
Install the rod you want to use as the cathode (-) terminal first, then the anode (+). Push them firmly into the soil, leaving 2–6 inches sticking out.
Step 4: Connect Wiring to the power source.
Clamp one wire’s alligator clip to the cathode rod, and the other wire’s clip to the anode. Make sure the metal rods have a good connection with the wires.
Run the connecting wires to your 9-volt battery or other DC power source and complete the circuit. Use electrical tape or duct tape to help secure the wires in place.
Step 5: Water the Antenna Area Well
Before turning on the power, deeply water the soil around the electrodes. This helps the electric currents travel through the soil easier.
Turn on power and let the antenna operate for the recommended time based on your power source (see next section). Make sure to keep the soil moist for optimal results.
And that’s it! In less than an hour, you can set up a DIY electroculture antenna that will stimulate your plants’ growth all season.
Now let those stimulating currents work their magic! Keep reading for pro tips, science, and common questions.
Maximizing Your Antenna’s Bounty Boosting Power
Follow this advice to optimize your antenna’s performance:
- Keep soil damp – Hydrated earth conducts electricity best
- Start with lower voltages (3-6 volts) and slowly increase to find the ideal level
- Alternate polarity: switch cathode/anode each week for even exposure
- Check connections – Ensure wires are tightly attached to electrodes
- Monitor current – Use an ammeter to track output in the optimal range
- Remineralize soil – Adding minerals enhances conductivity and nutrition
- Try larger electrodes – Plates or chicken wire can energize bigger planting areas
Understanding the Science of Electroculture’s Growth-Enhancement Effects
While electroculture may seem fantastical, it’s backed by science:
- Strengthened roots – Currents stimulate root cell metabolism and branching
- Increased nutrient uptake – Electrified roots better absorb moisture and minerals
- Enhanced cell walls – Leaves, stems and roots become stronger
- Systemic resistance – Low currents appear to activate natural immune responses
- Improved mineral distribution – Charged nutrient particles move easier through tissues
- Microbial stimulation – Soil bacteria and mycorrhizae are energized
There are likely several mechanisms contributing to electroculture’s proven power to increase yields sustainably. Researchers continue investigating, but farmers are already reaping the benefits in their fields!
Give it a try this season – even apartment gardeners can build a simple antenna to grow more vigorous vegetables and herbs. Let’s get growing!
Conclusion
Adding an electroculture antenna to energize the soil is an easy, affordable way to maximize your garden’s bounty naturally. Follow this guide to build your own system and enjoy the benefits of bigger blooms and bumper crops! Let us know how your electro-harvest grows in the comments. Happy gardening!